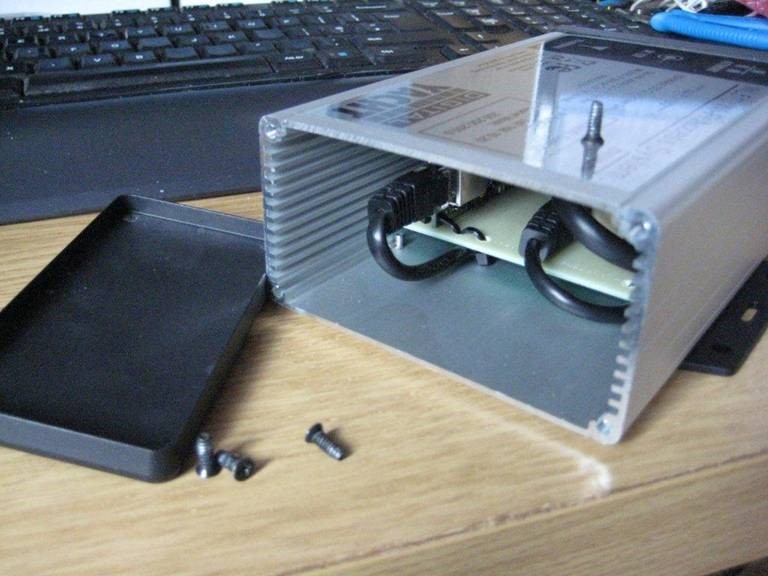
First you need to unscrew the four black screws that hold the end cap of the WL510 in – the end cap with no connectors…

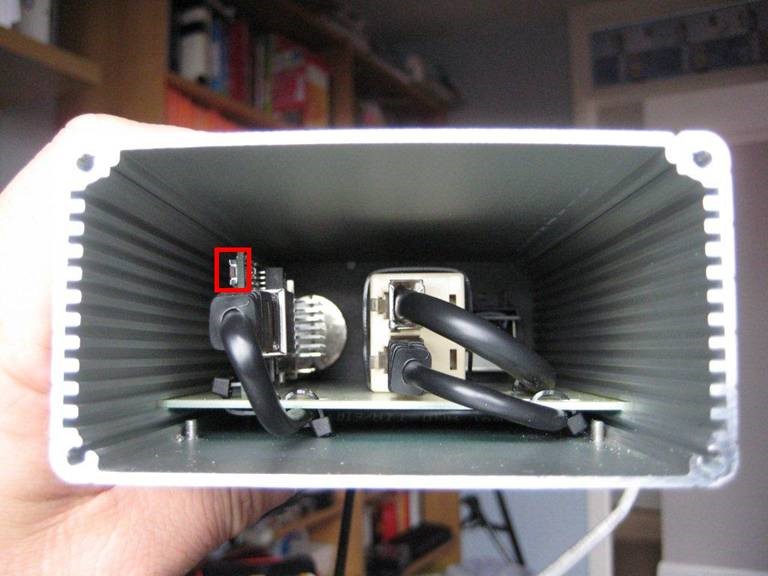
Once the end cap is removed look down in to the unit and you will see the Reset switch which I have highlighted in the red box….

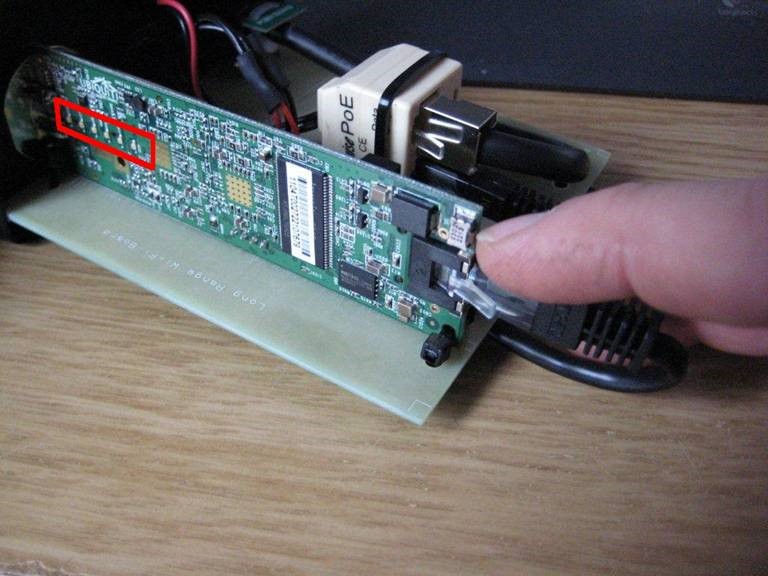
Here is another picture showing the PCB with the six LEDs in the red box and my finger pressing the reset switch….

With the WL510 powered up and the end cap removed, press and hold the reset switch for at least 15 seconds.
You should see the reflection of the LEDs on the left hand wall of the aluminium enclosure and normally there are a couple of green LEDs lit and during the 15 seconds you should see all six LEDs flash on, keep holding the reset button in for another few seconds and then release.
You should now wait for about 20-30 seconds for the WL510 to reboot and proceed to the Configuration Procedure below.
After you have reset the WL510, then we need to re-configure it before it will work properly.
