If you have followed the procedure to reset the WL510 then you must follow the procedure below to reconfigure the WL510.
You must download the product firmware by clicking here.
Configuration Procedure – Direct Cable Method
After a reset the WL510 has a fixed IP address of 192.168.1.20 and does not provide IP addresses to devices that connect to it automatically. Therefore you will need to connect a PC or Mac to the WL510 using a normal network Ethernet cable and set the computer you are using to temporarily use a fixed IP address of…
Fixed IP address = 192.168.1.2
Subnet Mask = 255.255.255.0
Once you have your computer set to this fixed IP address, it should be on the same network as the WL510 and if you open a browser you should be able to bring up the WL510 login page at http://192.168.1.20
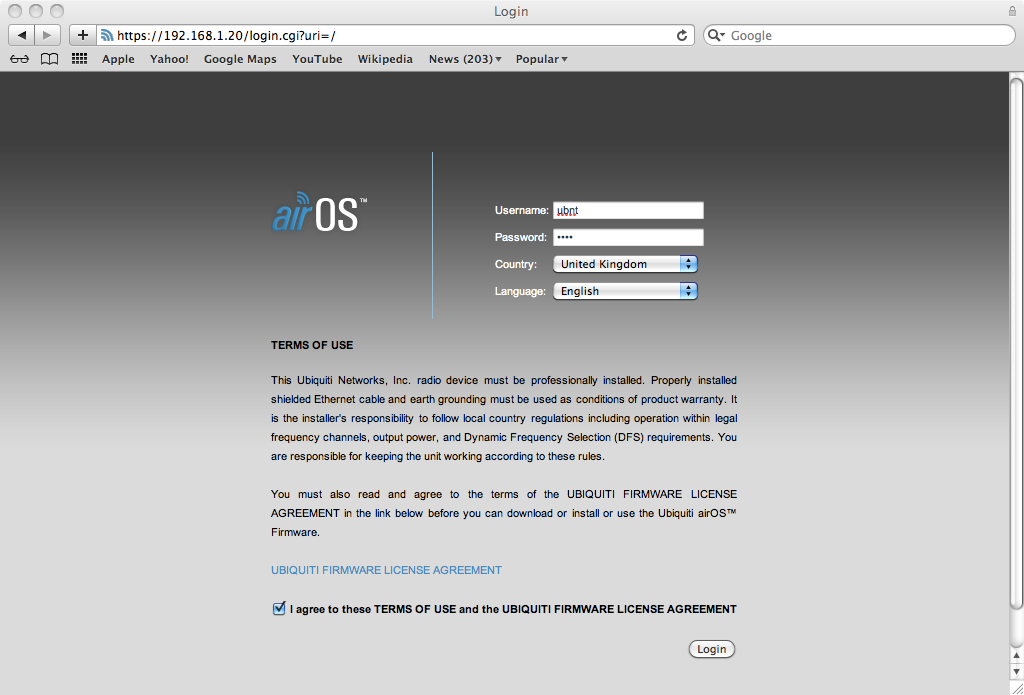
This should take you to the normal Log In screen of the WL510 (see below). The default Username and Password after a Reset are “ubnt” (without the quotes) and you will need to select your country and also tick the accept conditions box.

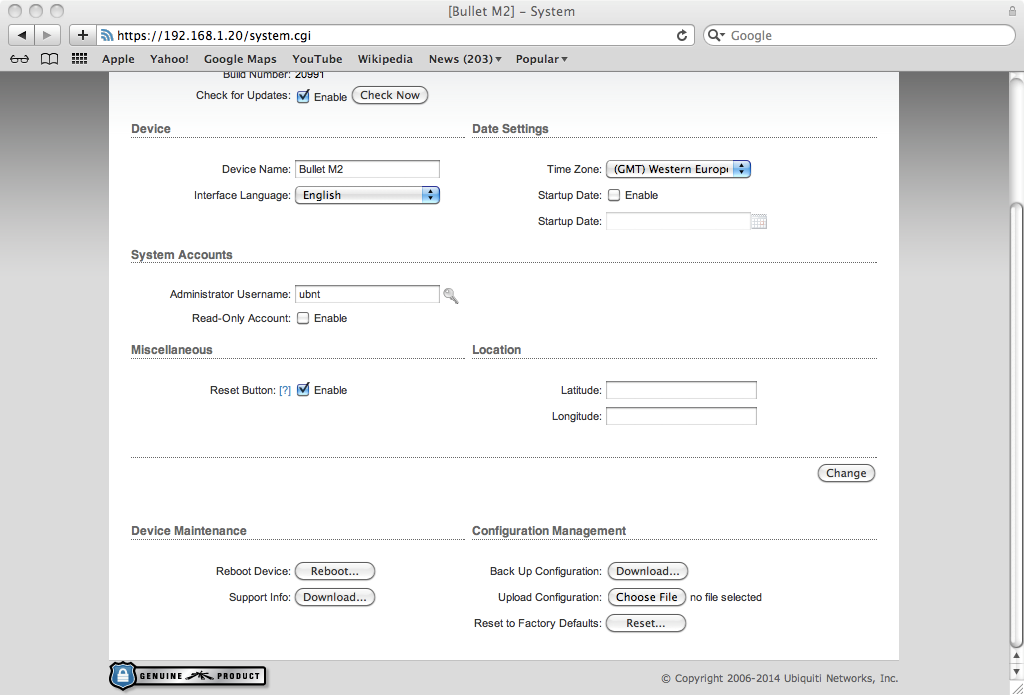
Once logged in, go to the “SYSTEM” tab and in the bottom right corner is the Manage Configuration section and you need to click on the “Choose File” button and then select the firmware file above which needs to be downloaded, from where ever you save it to.

Once selected, click the “Upload” button and the WL510 production default configuration will be loaded. It takes about 30 seconds for this to happen and for the WL510 to reboot itself with the new settings.
Whilst you are waiting for the WL510 to reboot, put the PC or Mac back to getting the IP address automatically.
Once the WL510 has finished rebooting, your PC/Mac should get an IP address automatically in the 192.168.10.xxx range and you should be able to type http://192.168.10.20 in to your browser and see the login page as normal. At this point the Username and Password will be back to “wl510” as normal.
The above screen shots are from a Mac but a PC should be identical.
